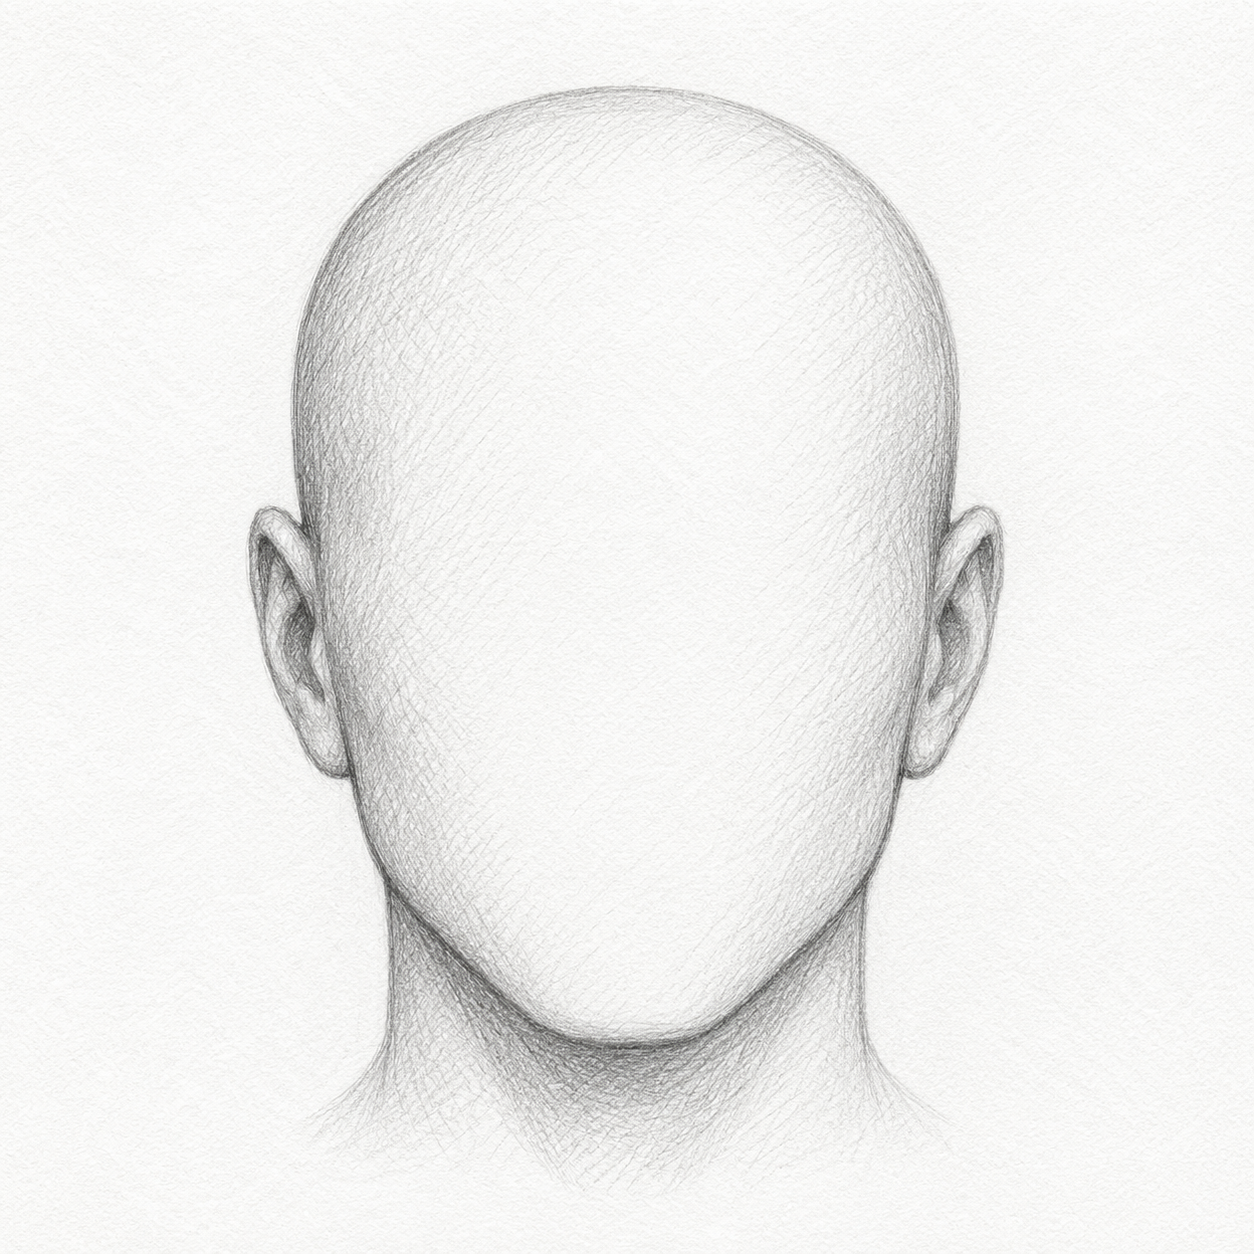
Getting started
Open the Features panel on the left and choose a category (Head, Hair, Eyes, and so on).
Click a thumbnail to place that part on the sketch. You must add a Head before other features.
Use ← Investigative Tools (top left) to return to the portal or Crime Board.
Moving and selecting parts
- Click a part on the sketch to select it, then drag to move it.
- Arrow keys — move the selection a small step.
- Shift + arrow keys — move one pixel at a time (fine tuning).
- Ctrl + arrow keys — move a larger step.
- Ctrl + click — add or remove parts from the selection.
Use corner handles to resize. Selected mouth, hair, and mustache parts show edge handles for stretch.
Selected scars (under Extras → Scars) show a rotate icon outside the selection box; drag it to turn the scar.
[ / ] also rotate (hold Shift for 1° steps).
Feature library
Update Images rescans assets/parts on the server and refreshes the library after you add or replace PNGs.
Under Extras, sub-tabs are Accessories, Freckles, Glasses, Moles, and Scars
(brows, ears, and neck parts appear under Accessories). You can place multiple extras; each click adds another layer.
The ? button in the header opens this guide. The lock icon opens studio settings (Crime Board administrator sign-in). Tabs include Layout (print preview, splash, thumbnails), Pop-Up (startup announcement shown every time the app loads until OK), Upload, and Hide parts
(eye icon on each thumbnail — files on disk are never deleted). Administrator passwords are managed in Crime Board only.
Inspector panel
Subject information fills the print title bar and footer (name, age, race, gender, hair, eyes).
Print preview shows the live letter layout; collapse it with the chevron or hide it entirely in studio settings → Layout.
Beside the sketch pad, position readouts show Hair, Eyes, Nose, and Mouth.
A Selected box below lists coordinates for the current single selection (including rotation for scars).
Eye spread appears when an eye is selected (both eyes on the sketch).
Hair width / Hair length appear when hair is selected.
Opacity (+ / − in 5% steps, up to 200%) appears when any part is selected.
In the Select list beside the pad, extras items are labeled by subcategory (for example Scars · #1) without an Extras · prefix.
Save, export, and print
- Save profile / Load profile — store the full sketch (.skt) including layers and subject fields.
- Export PNG — download the composite sketch image.
- Print — open the system print dialog with the formatted sheet (title, sketch, and subject footer).